


With an unusually warm February, nature began to feel the first signs of spring very early, and the first people are said to have already been observed doing some major spring cleaning.
Even a PC occasionally needs a deep cleaning. Even with relatively well-sealed PC cases, dust gets inside – after all, especially for gaming hardware, fresh air has to go into the case and warm air needs to come out again, so a normal PC case is never completely tight.
It is therefore only a matter of time before the dust not only looks unsightly, but also makes it unnecessarily difficult for heat to escape from the individual components into the air. With an extremely dusty PC, cooling becomes more difficult – the fans have to rotate faster to compensate for the poorer heat output, and since the fans are also covered in dust at some point, they work more and more inefficiently.
Therefore, regular cleaning of the PC is not unimportant, especially with gaming hardware. We'll give you some tips on this, not just when it comes to cleaning, but also on how to remove individual components so that you can clean them individually and the PC as a whole better.
Since some people use the cleaning campaign and the recommended removal of the CPU cooler to install a completely new cooler, we will also explain the two typical fastening methods for CPU coolers at the end. But first we start with cleaning the PC and first take care of the preparatory work and the useful accessories.
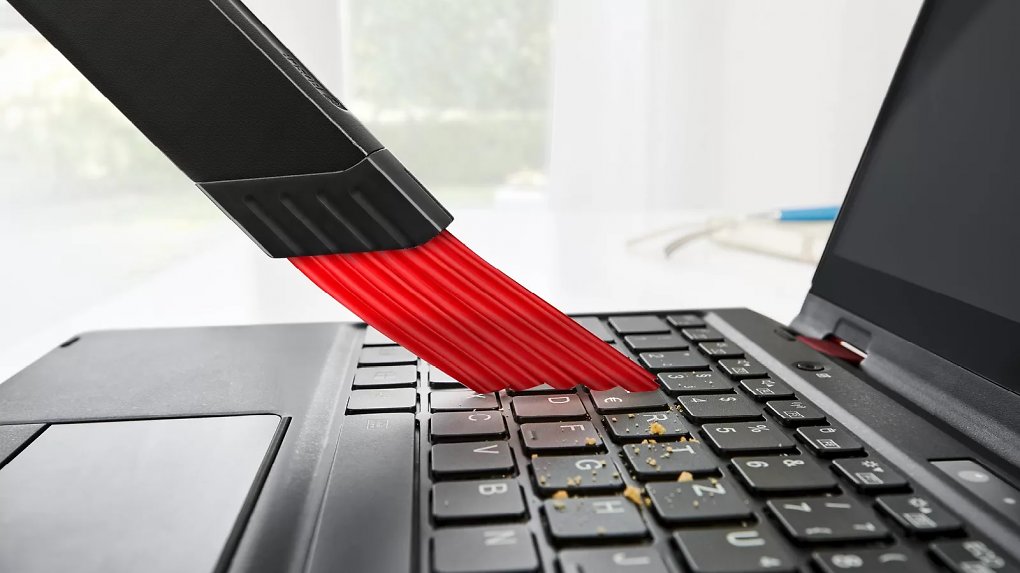
Source: Bosch A vacuum cleaner attachment like this with brushes on the front, here an attachment from Bosch, is also helpful for cleaning your PC.
First steps and resources
The first step before cleaning the PC is to unplug the PC and also remove all cables that lead to the PC. You should also ground yourself – you can do this, for example, by reaching for a tap or radiator. As a cleaning aid, we recommend the following things in addition to screwdrivers, which are already necessary:
Cloths (e.g. microfiber), kitchen paper and two to three brushes, at least one of them with harder bristlesMini brushes (1 mm to 4 mm) or toothpick (hand) vacuum cleaner with a suitable suction brush attachmentDishwashing mixture (bowl with about half a liter of water and 2-3 drops of dishwashing liquid) Thermal paste (if you remove the CPU cooler and reinstall it) Possibly rubbing alcohol and a can of compressed air
It's best to clean the outside of the PC at the end – two cloths, for example made of microfiber, are sufficient. You can moisten one of the cloths with the dish soap mixture. For the glass of glass elements, you may want to use glass cleaner or a mixture of vinegar and water. Before you venture into the inside of the PC, we recommend removing some components (in addition to grounding).
Remove graphics card
In any case, the graphics card should be removed to make cleaning the PC easier – to do this you usually have to remove two or three screws in the rear area of the case, namely where the graphics card is fixed to the back of the case.
You also have to press down a tab that is located directly to the right of the PCIe slot in which the graphics card is inserted. Getting here can sometimes be a bit fiddly. You can only finally remove the graphics card when the tab is pressed down, although a little jerking and pulling is often necessary and you may have to remove the graphics card diagonally and not exactly straight.


